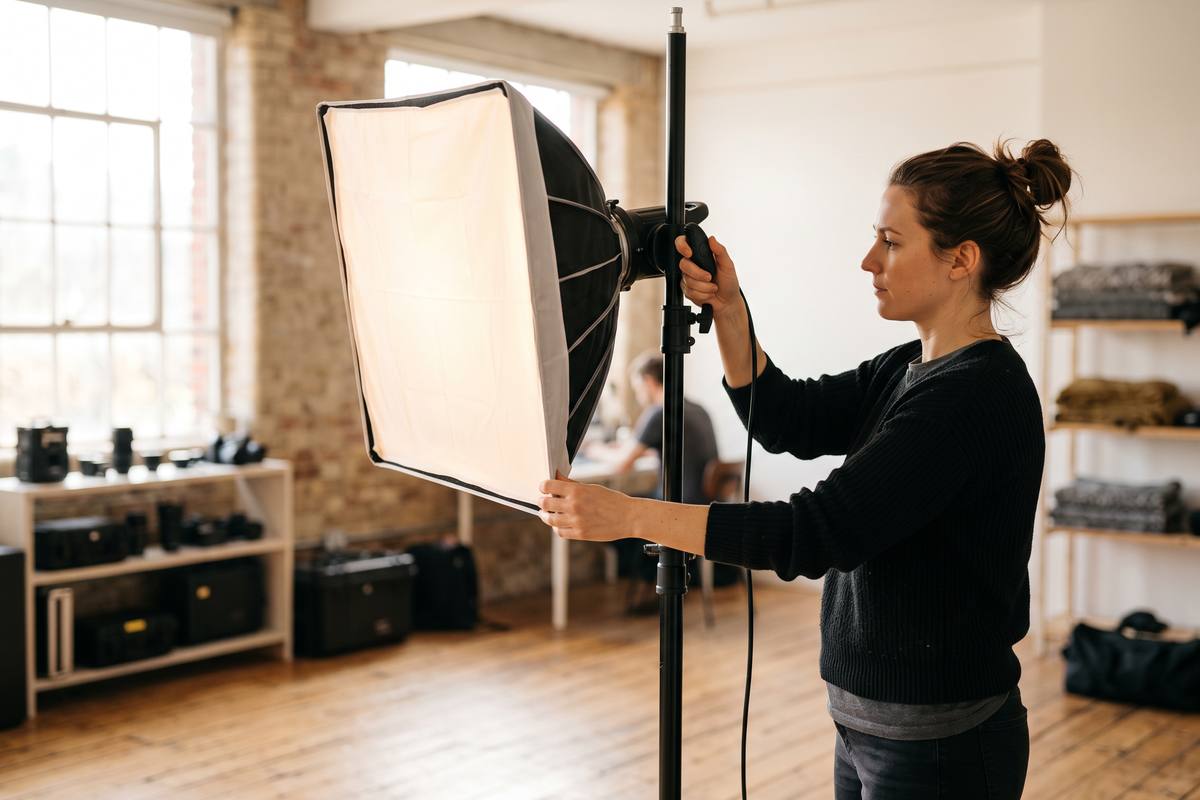
One light
The single soft source
One softbox or diffused panel, slightly above eye level and a little to one side, gives a face shape and a soft fall-off you cannot get from an overhead ceiling light.
Lighting for home video
One window, one lamp and a white wall will beat a room full of equipment you do not understand yet. These guides show how to read a room, place a single light and keep it consistent take after take.
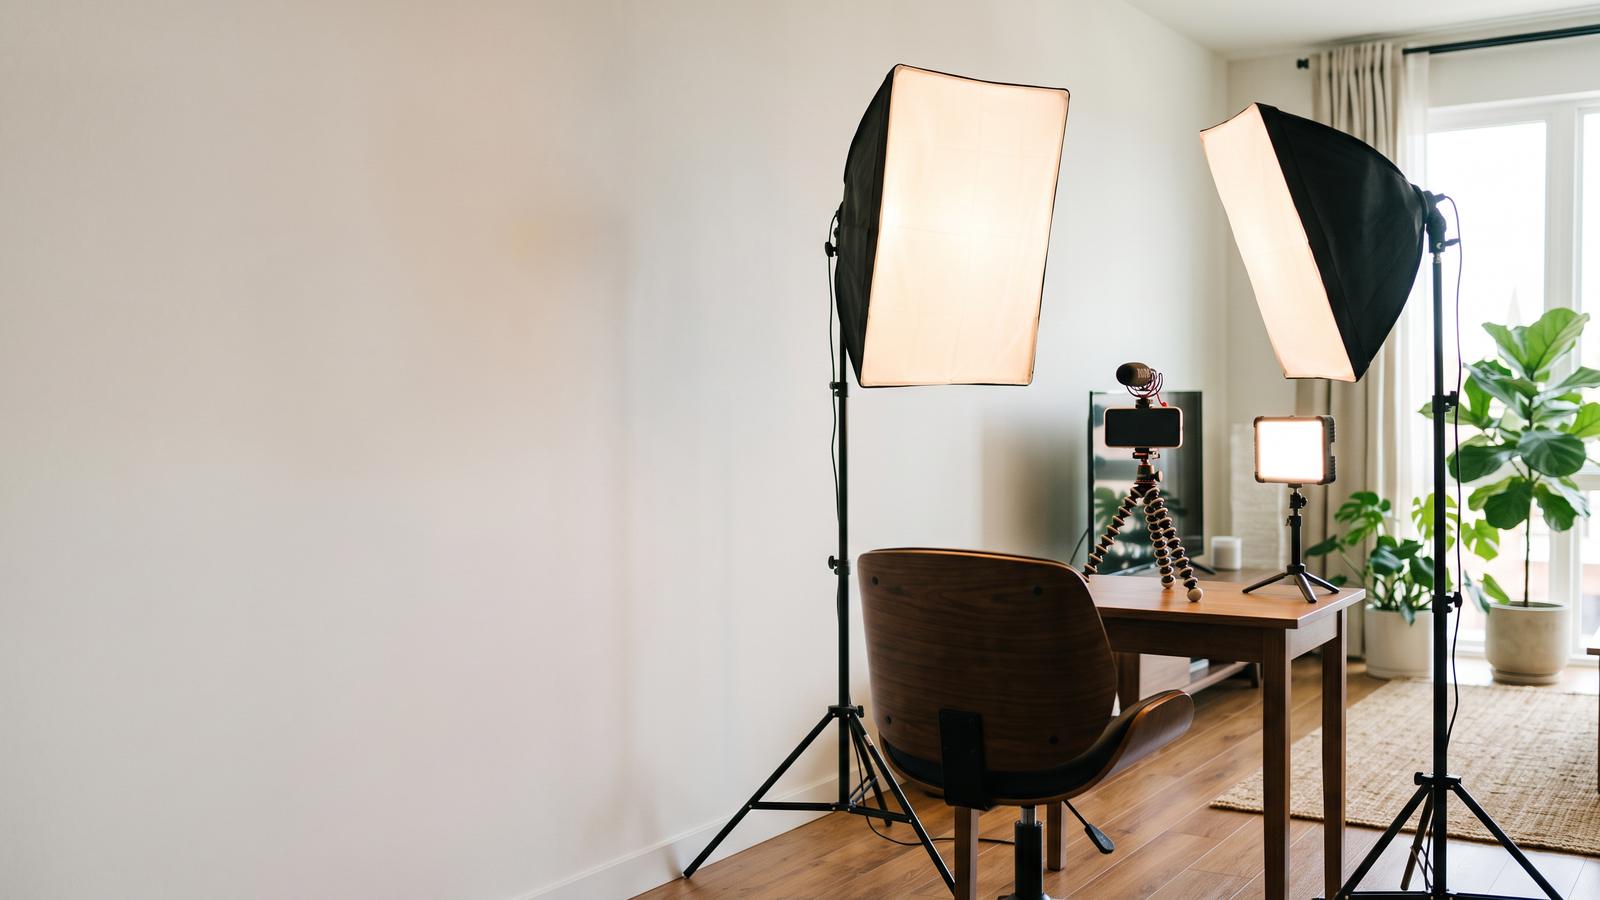
Start here
Almost every home has enough light to film well. The problem is that it arrives from the wrong side, at the wrong height, in the wrong colour.
Before buying anything, take two minutes to walk the room and find where the light comes from. Once you know that, the equipment question becomes much smaller: you are either adding a soft source, shaping an existing one, or moving the subject a step to the left.
Three workable setups
Each of these uses one main light and, at most, one helper. Start with the one that matches the space you actually have.
One light
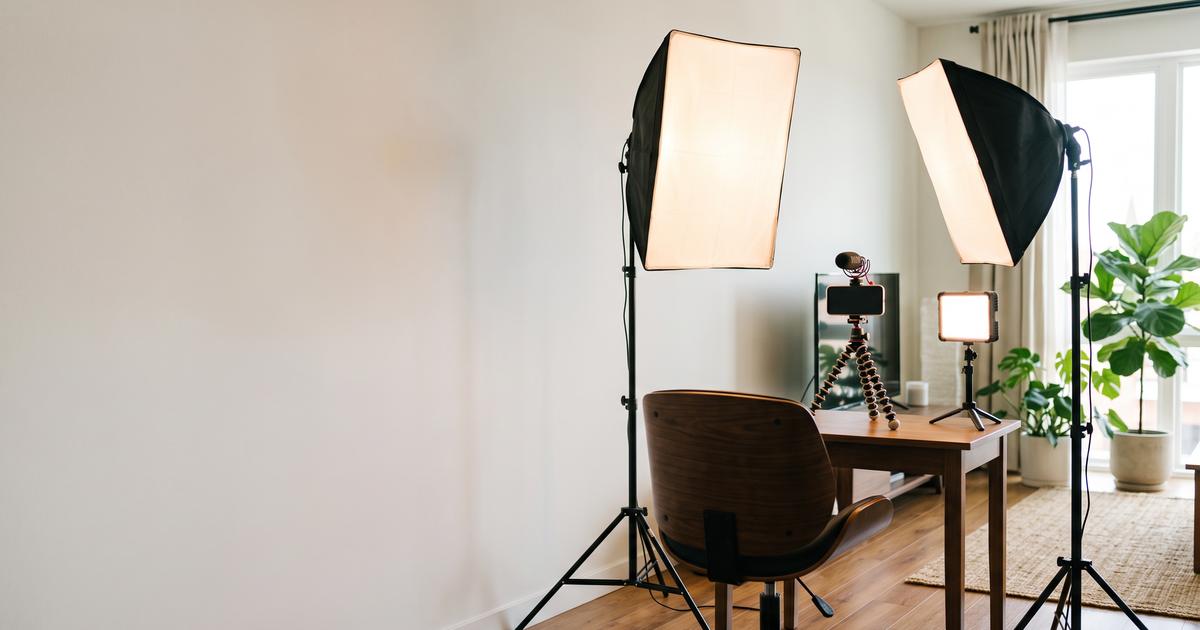
One softbox or diffused panel, slightly above eye level and a little to one side, gives a face shape and a soft fall-off you cannot get from an overhead ceiling light.
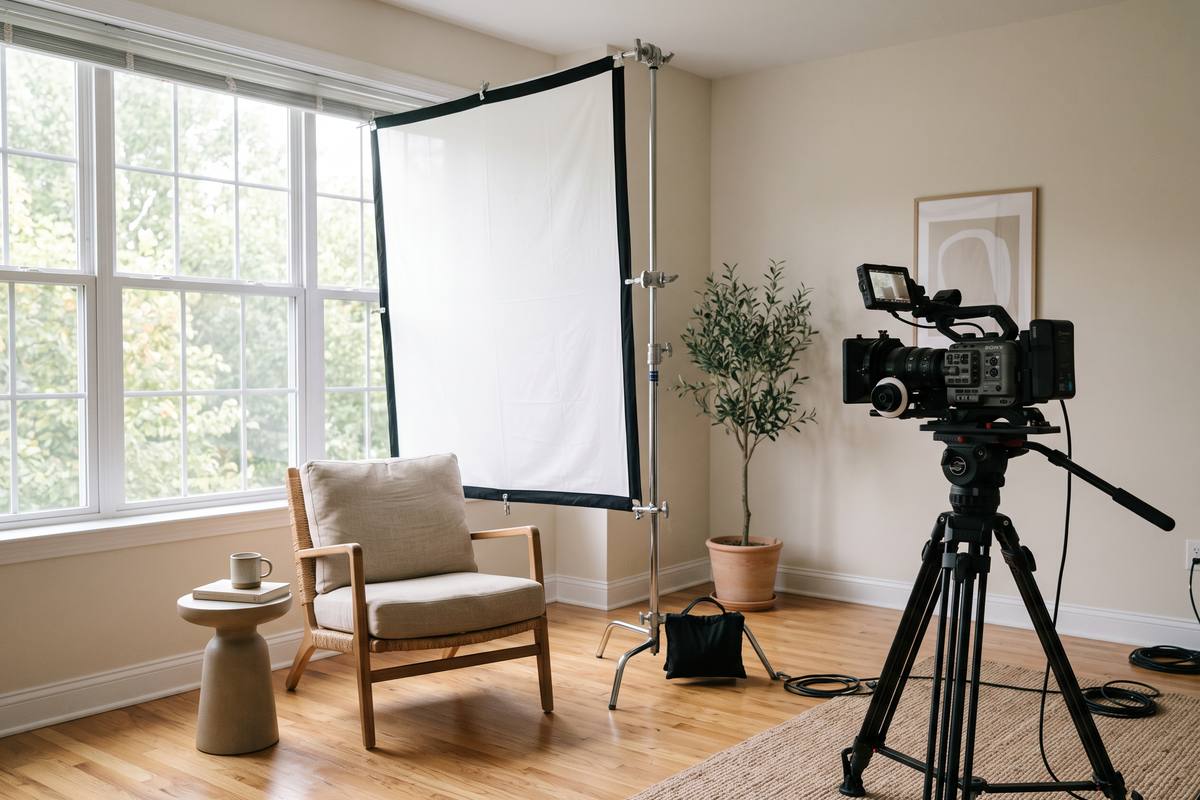
Daylight
A north-facing window with a sheer curtain is the most forgiving light in any home. It is soft, free and stable for two to three hours a day if you plan around it.
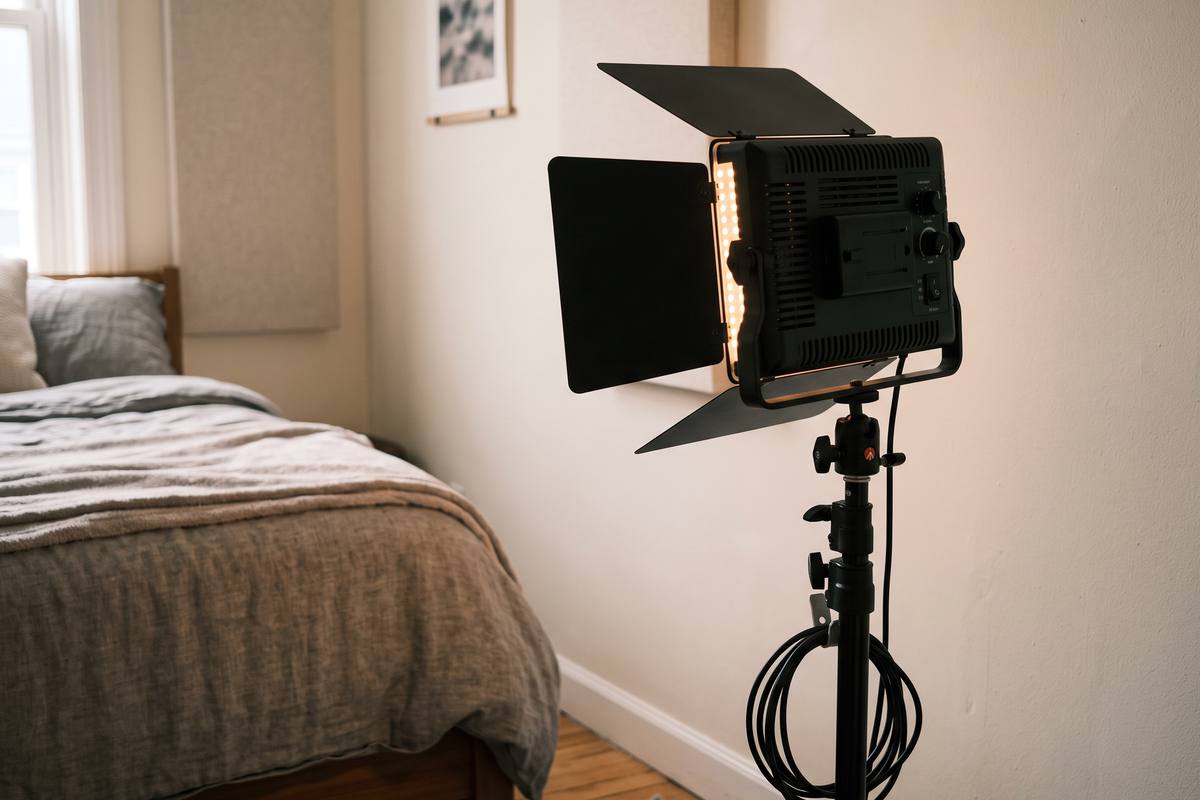
Panel
An LED panel trades softness for control: adjustable colour temperature, dimmable output and a shape you can hide almost anywhere in a small apartment.
Reading a room
Where is the brightest surface in the room? Look for the brightest wall, window or lamp, not the brightest object. Light bounces, and the brightest surface tells you where the fill is coming from.
Which way does the light travel at head height? Light from above the eyes makes sockets dark; light from below exaggerates them. Bring your hand up to face level and watch the shadow move — that is the height you want your main source at.
What colour is it? Mixed sources are the most common cause of footage that looks off in a way people cannot describe. Keep one colour family: either all daylight or all warm indoor light, never both on the face at once.
Comparison
None of these is best in every room. The right choice depends on how much control you need and how much space you can give the light.
| Light source | Softness | Control | Best room | Practical note |
|---|---|---|---|---|
| Window with sheer curtain | Very soft | Low | Any room with a usable window | Free, but the quality changes with the weather and the hour |
| Softbox on a stand | Very soft | Medium | Corner of a living room or bedroom | Needs about one metre of clearance and a few minutes to set up |
| LED panel with diffuser | Medium to soft | High | Desks, kitchens, small tables | Adjustable colour and brightness; softer results need a diffusion sheet |
| Clip-on lamp with paper diffuser | Soft, less even | Low | Very small spaces | A useful first step, but expect a visible fall-off across the frame |
| Ceiling light alone | Hard, top-down | Very low | Not recommended for faces | Produces shadows under the eyes and a flat look overall |
A modest light that you set up the same way every time will make your videos look more professional than a strong light used differently on each shoot. Write down the position, the height and the setting.
Lighting questions
It is a convenient first light because it fixes the eye-level height problem, but a ring creates its own look and gives flat, even illumination with a visible circular catchlight in the eyes. If your goal is a natural look, a small softbox on a stand is more flexible.
You are almost certainly mixing sources. Camera auto white balance averages everything in the frame, so a warm bulb and cool daylight together push the colour somewhere in between. Turn one family off, or set the white balance manually to match the dominant source.
Close enough that the subject fills most of it, far enough that the light is not visible in the frame. As a starting point, place it one step beyond arm's length, slightly above the eyes, at roughly forty-five degrees to the camera.
Usually not at first. A white wall, a sheet of foam board or a light-coloured tablecloth placed opposite the main source works as a bounce and costs nothing. Add a second fixture only when the background is too dark for the story.
Lower the main light to just above the table surface, angle it slightly across the product rather than straight at it, and use a white card on the opposite side. The lower angle shows texture instead of flattening the object.
Guides
Read them in this sequence: understand the main source, use daylight well, then choose equipment with a clear reason.
Lighting basics
Where to put one light, how high, and how to soften it without buying anything else.
Natural light
How to plan a shoot around daylight, soften a harsh window and keep the look consistent across takes.
Equipment choices
Size, softness, control and where each one actually makes sense in a small home filming space.
Updates
We publish a short note when a lighting guide is updated or when a new room test changes our recommendation. One message a month at most.