Lighting basics
Key Light Basics for a Small Room
One light, placed correctly, does more for a video than three lights placed randomly. Here is the setup we use in rooms under fifteen square metres.
In this guide
The four positions that matter
A key light has a height, a distance, an angle and a size. Everything else about home lighting is a variation on these four, and getting them roughly right is enough to make a face look natural on camera.
Start with height. Place the light just above the subject's eyes, then move it up in small steps until the shadow under the nose is soft rather than heavy. Height above the eyes is what removes the tired look that ceiling lights create.
Angle and distance
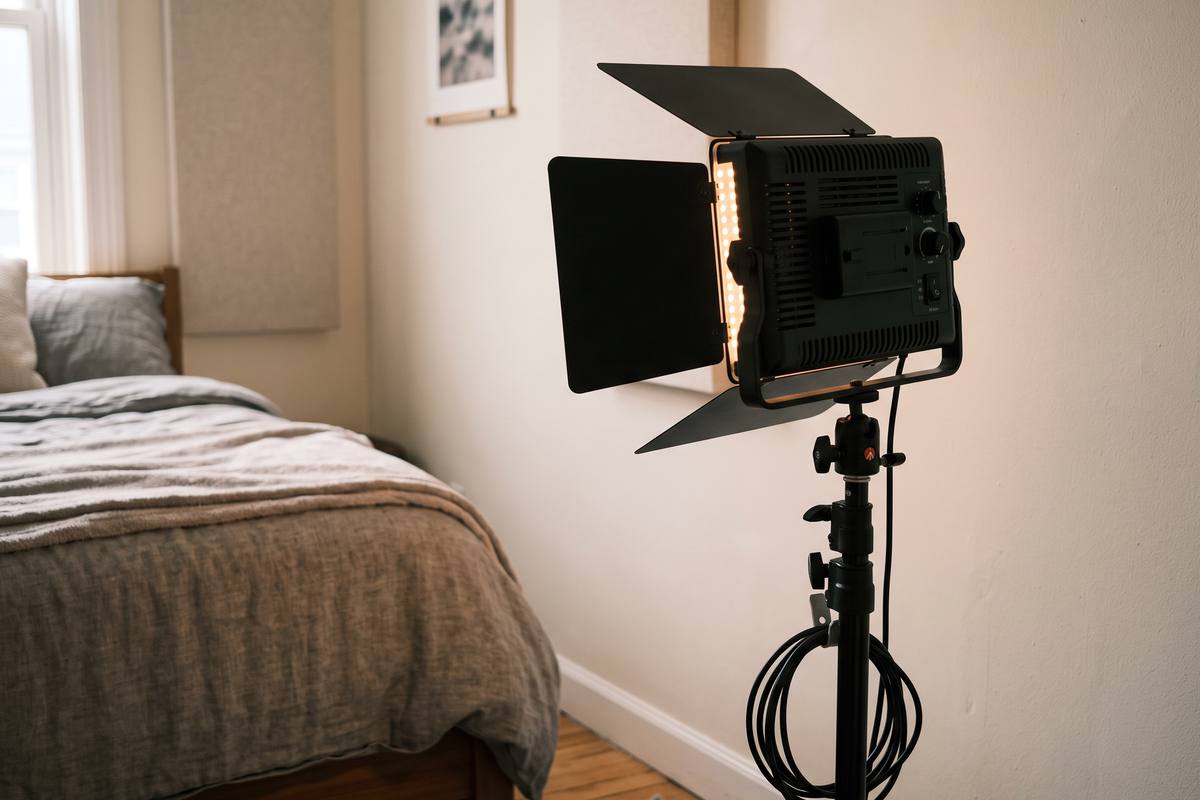
Set the light roughly forty-five degrees to one side of the camera. Straight-on light flattens the face and removes the modelling that makes a shot interesting; ninety degrees carves a hard split down the middle. The middle ground gives shape without drama.
Distance controls how fast the light falls off across the frame. Move the light closer and the face gets brighter while the background goes darker; move it away and the fall-off softens. In a small room the practical trick is to bring the light close, then reduce its output rather than moving it.
- Just above eye level, then adjust upward in small steps
- About forty-five degrees to one side of the camera
- Close enough for soft fall-off, out of frame, not clipping
- Lower the output rather than moving the light away
Softening light without new gear
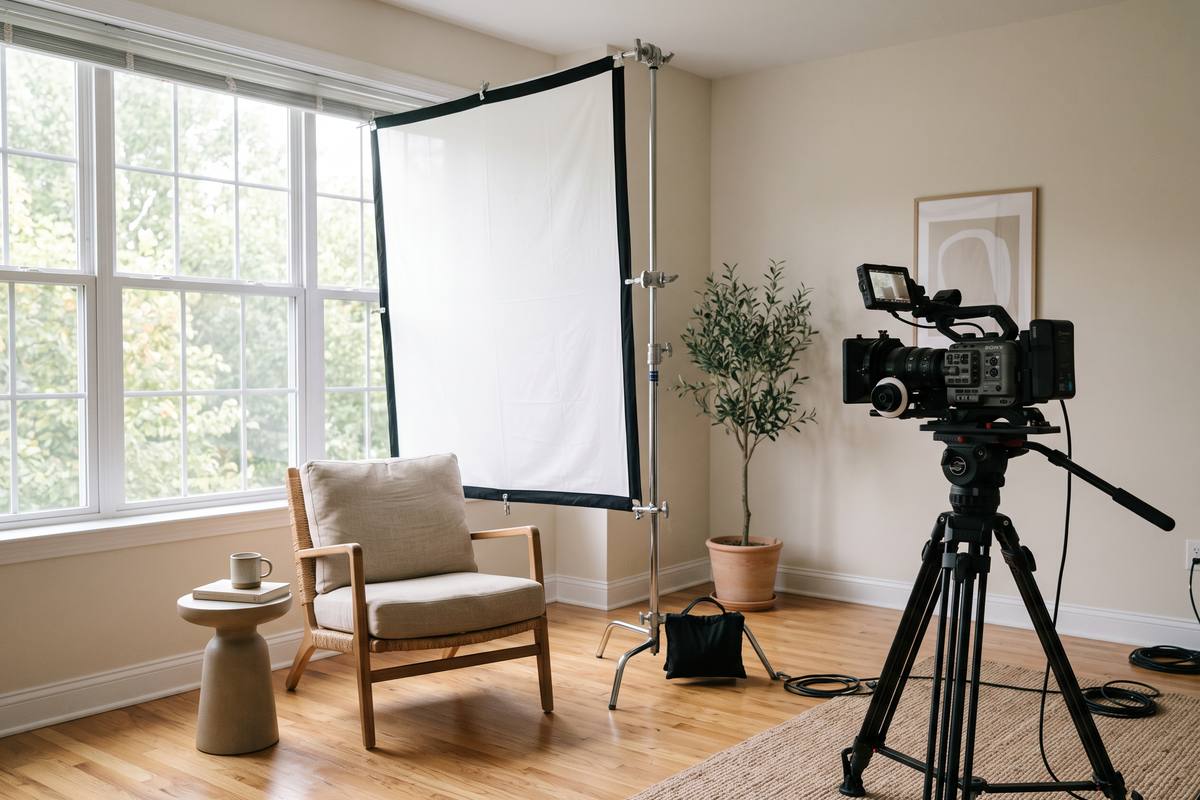
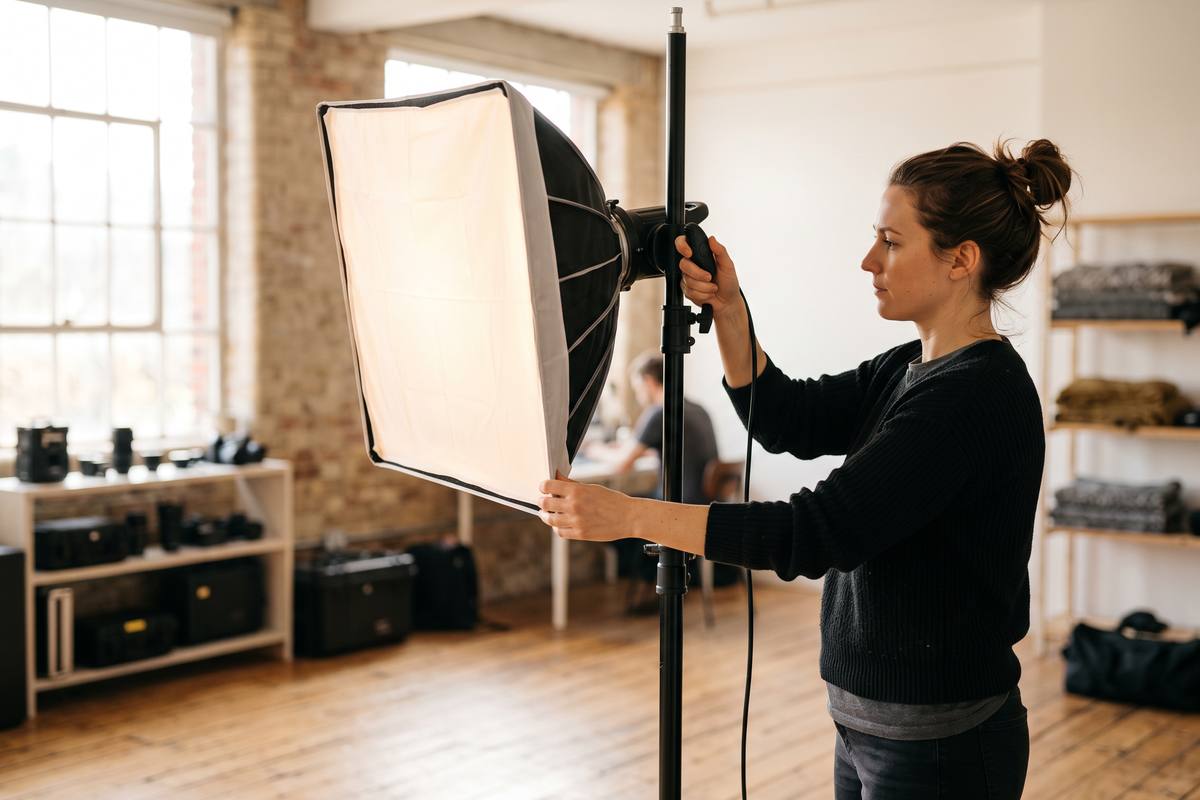
Softness comes from the size of the light source relative to the subject. A bare bulb is small and therefore hard; the same bulb behind a sheet of diffusion becomes large and therefore soft. Any translucent white material will do: a shower curtain, tracing paper, a white sheet, a sheet of foam board.
Keep the diffusion about ten to twenty centimetres from the fixture and check that it does not touch a hot lamp. Take a ten-second test clip and look at the shadow edge under the chin: if it is a soft gradient the diffusion is working, if it is a hard line you need a bigger surface.
Matching the light to the room
Once the key light is set, look behind the subject. A bright window behind a face that is lit by a small lamp creates a mismatch the camera cannot fix. Either move the subject so the window is to the side, or close the curtain and let your light do all the work.
Finish by checking the background brightness separately. If the wall behind the subject is much darker than the face, that is often desirable; if it is so dark that the shot looks like a portrait in a tunnel, bounce a little light onto it with a white card.
Key takeaways
- Place the key light just above the eyes and about forty-five degrees to one side.
- Bring the light close and lower its power instead of moving it away.
- Make the source larger to make the light softer, using any white diffuser.
- Keep the light family consistent: do not fight a bright window behind the subject.
BrightFrame Media editorial teamIllustrated and tested in ordinary apartments, not studios. Every setup described here was photographed in a room smaller than most people expect.
How bright should the light be?
Bright enough that the camera can expose the face at a normal setting without pushing the shadows. If the shot looks slightly underlit on the phone screen, it is usually closer to correct than it appears.
Does the colour of the wall behind me matter?
It changes the overall tone of the shot and how much light bounces back. A pale wall acts as free fill; a dark wall gives a moodier result and needs a little extra bounce.
Can I use a desk lamp?
Yes, with diffusion and a stable position. The main drawback is the small source, which makes hard shadows, so keep the subject close to the diffuser.